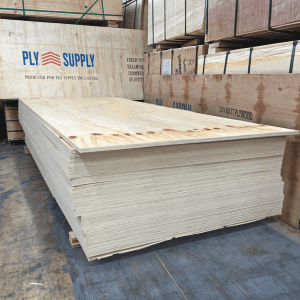
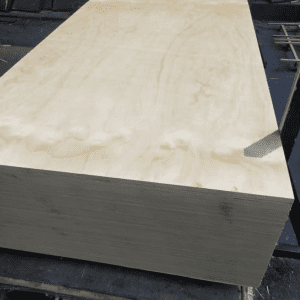
Selecting the right plywood for exterior walls is crucial for structural integrity and weather resistance. Here’s our comprehensive guide to choosing the best plywood for your exterior wall sheathing needs.
Check out our Plywood Products

Industry standard for exterior wall sheathing
C-D Exposure 1 bond classification
Available in 7/16″ (11mm) and 1/2″ (12mm)
Excellent structural properties
Cost-effective solution
Meets building code requirements
Check out our CDX Plywood
Order now: Quote Request

Superior water resistance
Type I waterproof glue
Available in 1/2″ (12mm) thickness
Higher grade faces than CDX
Greater durability
Ideal for harsh climates
Check out our Exterior Plywood
Order now: Quote Request

One side A-grade, one side C-grade
Exterior-grade adhesive
1/2″ (12mm) standard thickness
Better appearance than CDX
Good for exposed applications
Premium choice for visible areas
Check out our ACX Plywood
Order now: Quote Request
16″ on center: 7/16″ (11mm) minimum
24″ on center: 1/2″ (12mm) minimum
High wind areas: 1/2″ (12mm) recommended
Load-bearing walls: 1/2″ (12mm) preferred
Must meet local building codes
Minimum 7/16″ (11mm) thickness
Proper exposure rating
Appropriate span ratings
Correct fastener schedule
Required wind ratings
Proper Storage
Keep materials dry
Store flat off ground
Cover with waterproof material
Allow air circulation
Installation Best Practices
Install with long dimension perpendicular to studs
Leave 1/8″ gap between panels
Use appropriate fasteners
Follow nailing schedule
Install weather barrier over sheathing
Fastening Requirements
8d common nails or equivalent
6″ spacing on panel edges
12″ spacing on intermediate supports
Minimum 3/8″ from panel edges
Counter-sink nails slightly
Install house wrap
Flash all openings
Seal all penetrations
Proper overlap at seams
Tape all joints
CDX Plywood 7/16″ (11mm) or 1/2″ (12mm)
16″ stud spacing
Standard exposure rating
Standard fastening schedule
Exterior Grade Plywood 1/2″ (12mm)
Enhanced fastening schedule
Premium weather barrier
Additional water protection
1/2″ (12mm) minimum thickness
Reduced fastener spacing
Enhanced tie-down systems
Premium weather barriers
Check local building codes
Consider climate conditions
Verify load requirements
Plan for proper ventilation
Account for expansion/contraction
Pre-Installation:
Verify stud spacing
Check for straight walls
Ensure proper support
Plan panel layout
During Installation:
Use chalk lines
Check corners for square
Maintain proper gaps
Verify fastener placement
Post-Installation:
Inspect all fasteners
Check for damaged areas
Verify proper gaps
Install weather barrier promptly
Contact us to discuss your specific project requirements and see our complete selection of exterior wall sheathing products.

Signup our newsletter to get update information, promotion or insight.